This post contains affiliate links to products I recommend. Read my full disclosure statement.
I love seeing all the cute turkey crafts pop up in my Pinterest feed this time of year. Handprint turkeys, footprint turkeys, paper plate turkeys, turkey hats…there’s just so many ways to make an adorable turkey! My kids are a bit too old for those kinds of crafts but they’ve been begging to make a turkey. So, I came up with this stuffed paper bag turkey craft just for them.
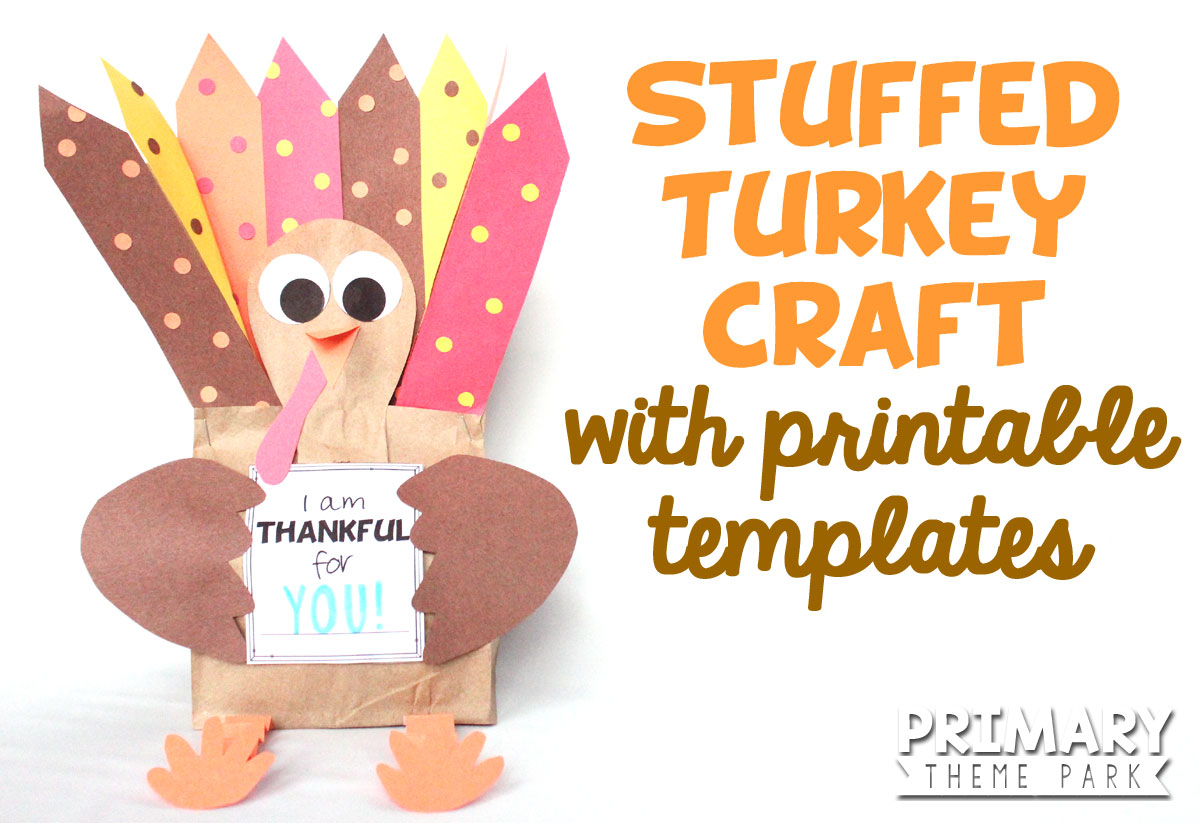
Paper Bag Turkey Craft
Materials:
- brown paper lunch sack
- turkey templates
- construction paper in various colors
- plastic grocery bag (for stuffing)
- scissors
- stick glue
- stapler
- clear tape
- hole punch
- markers, colored pencils, or crayons
Directions:
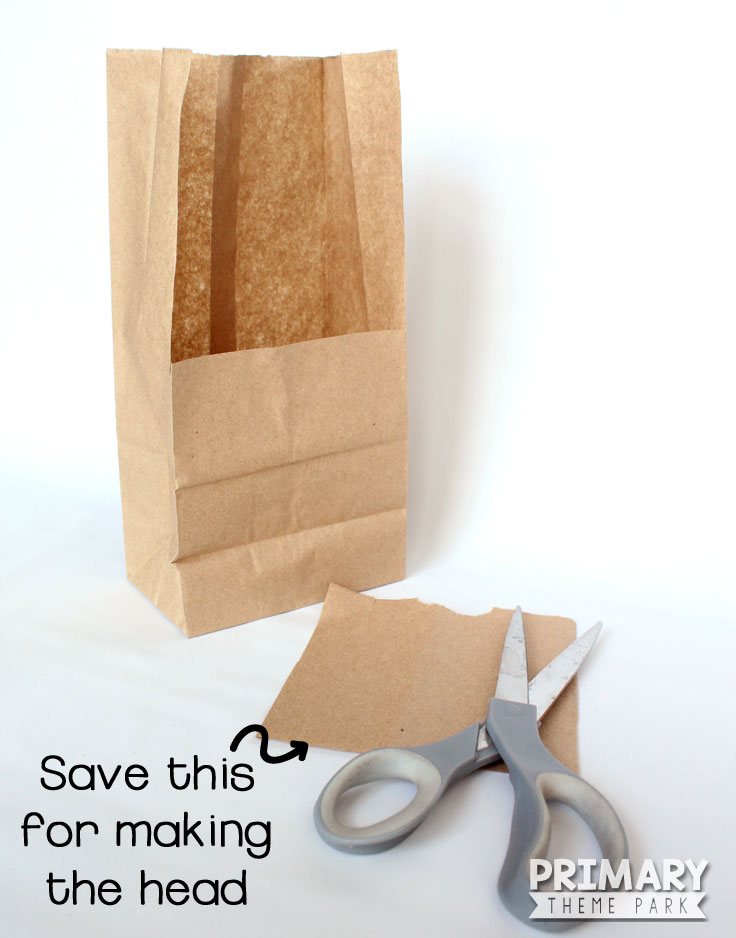
Cut out a large rectangle from just the front of the paper bag. We cut about halfway down. Save the part you cut out to make the turkey’s head later.
Cut across both sides of the bag so that the sides of the bag open outwards.
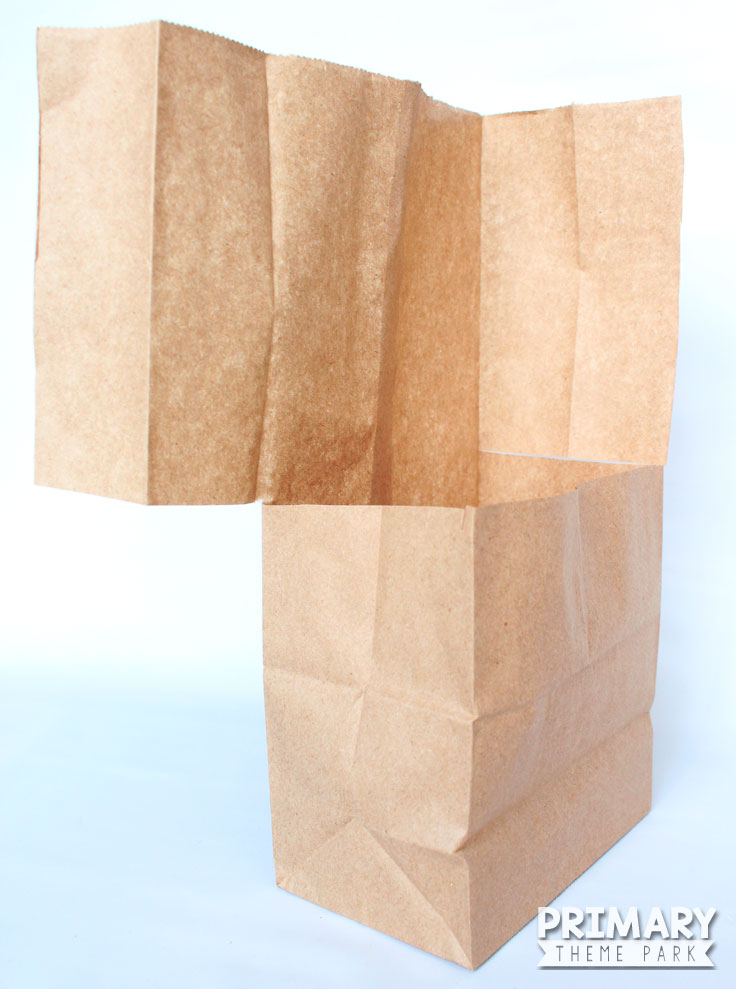
Fold the sides of the bag flat so that they are in line with the back of the bag.
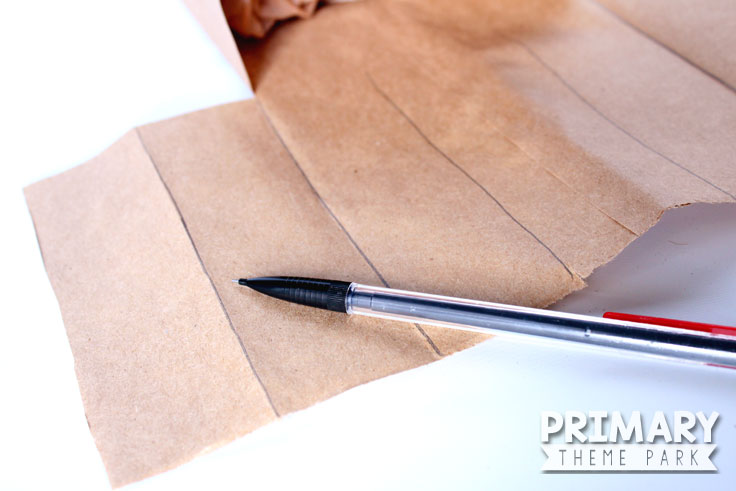
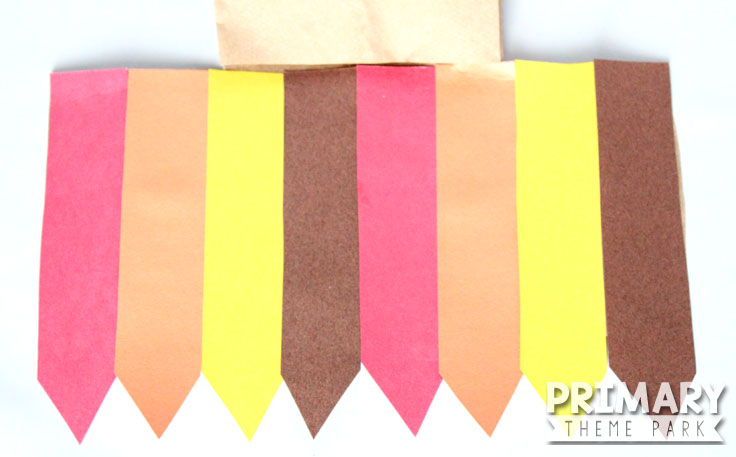
Now there is one long strip of paper at the top of the bag to attach the feathers. (My bag is upside down in the picture below.) Copy the feather template onto colored construction paper of your choice. Cut out the feathers and glue them onto the long paper strip using stick glue.
Next, use a hole punch to make polka dots to glue on the feathers.
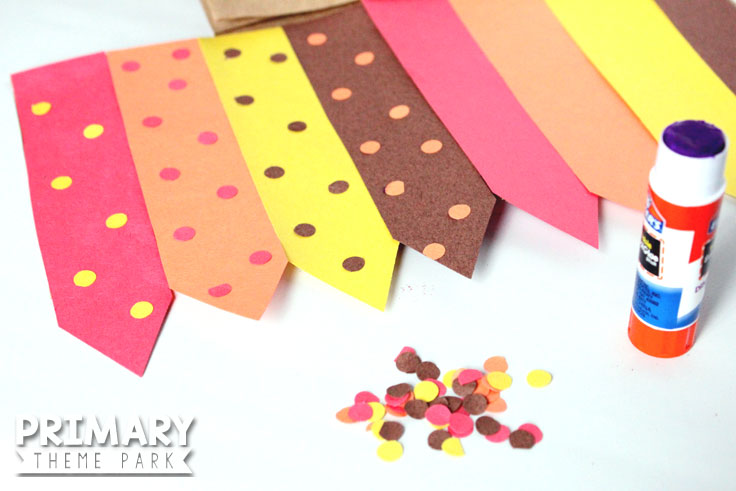
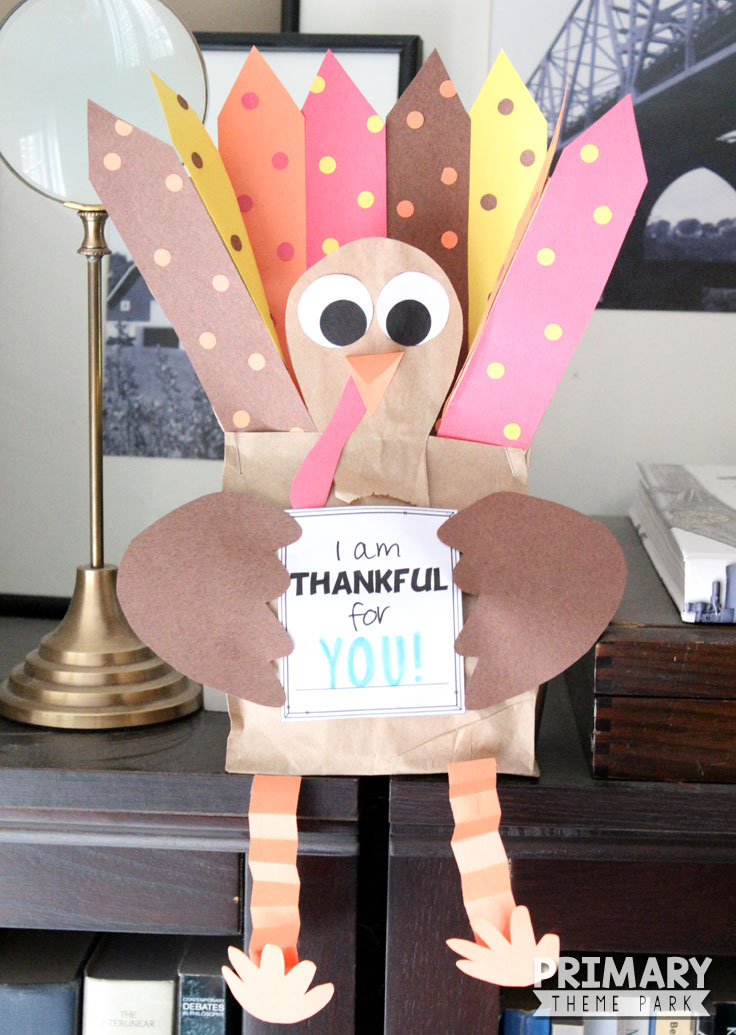
Here are our finished feathers. I just love the polka dots!
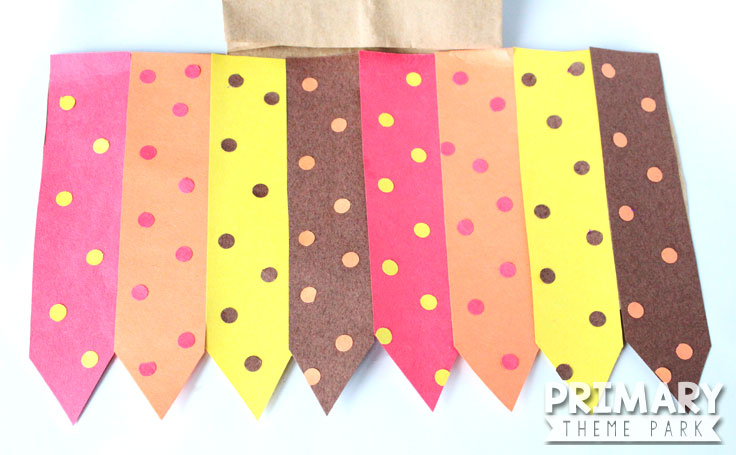
Now it’s time to stuff the turkey! Wad up a plastic grocery bag and stick it inside the paper sack.
Here’s the tricky part that kids might need a little of help with. The feathers extend beyond the bag at this point, so you need to fold them in a bit to make them the same width as the bag. On each side, fold the last two feathers so that the bottom of the feathers line up with the edge of the bag.
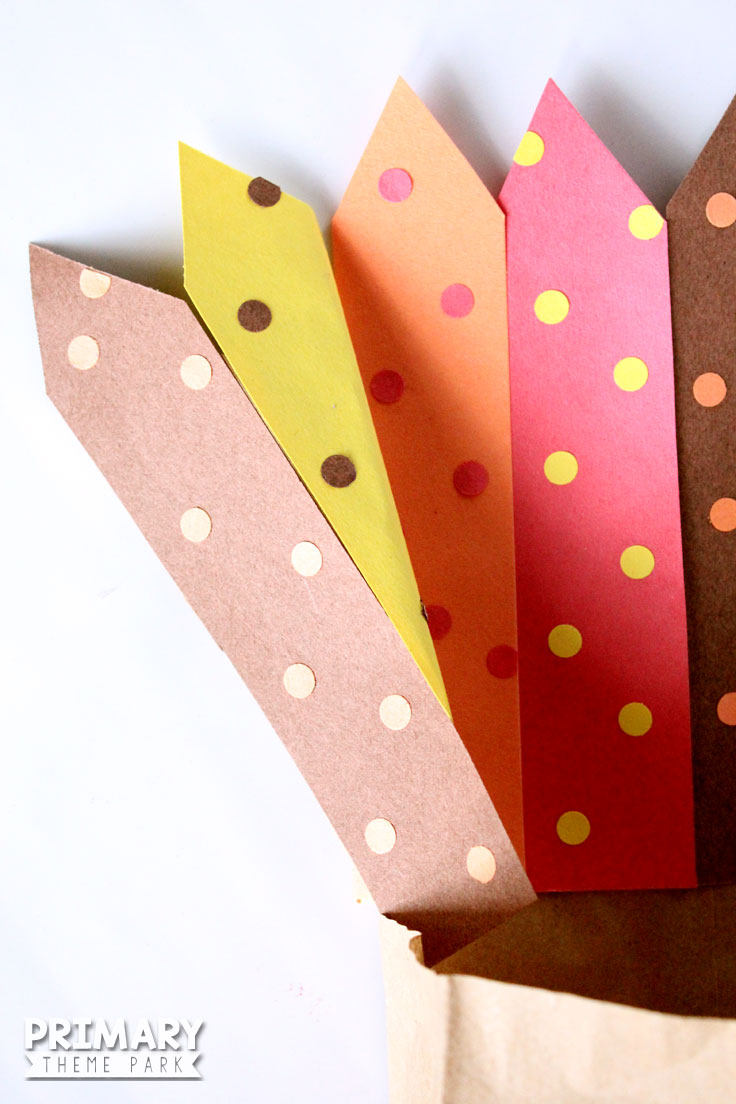
Place and hold the outside feathers in between the front and back of the bag. Staple the bag closed. Repeat on the other side.
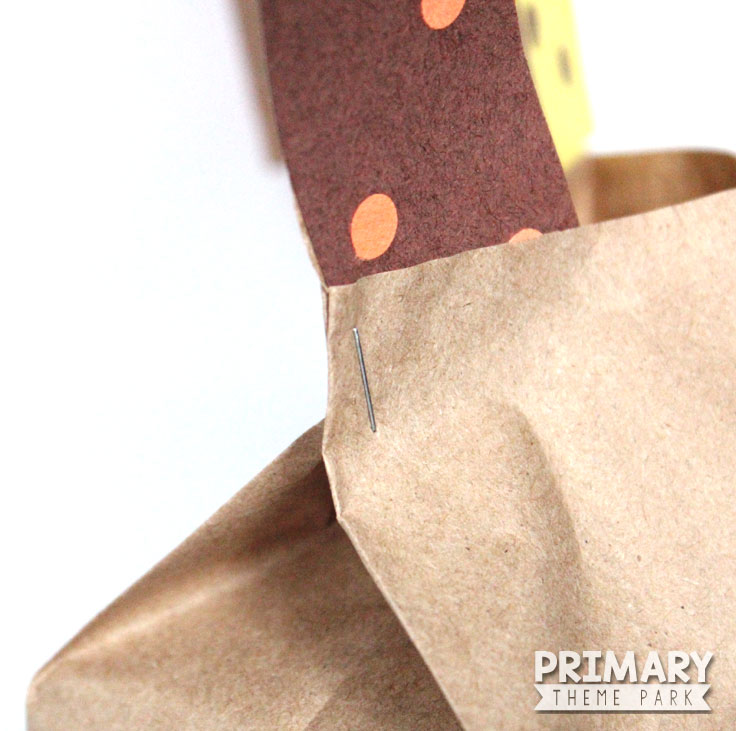
Here’s what the bag looks like after the feathers are folded and the bag is stapled closed.
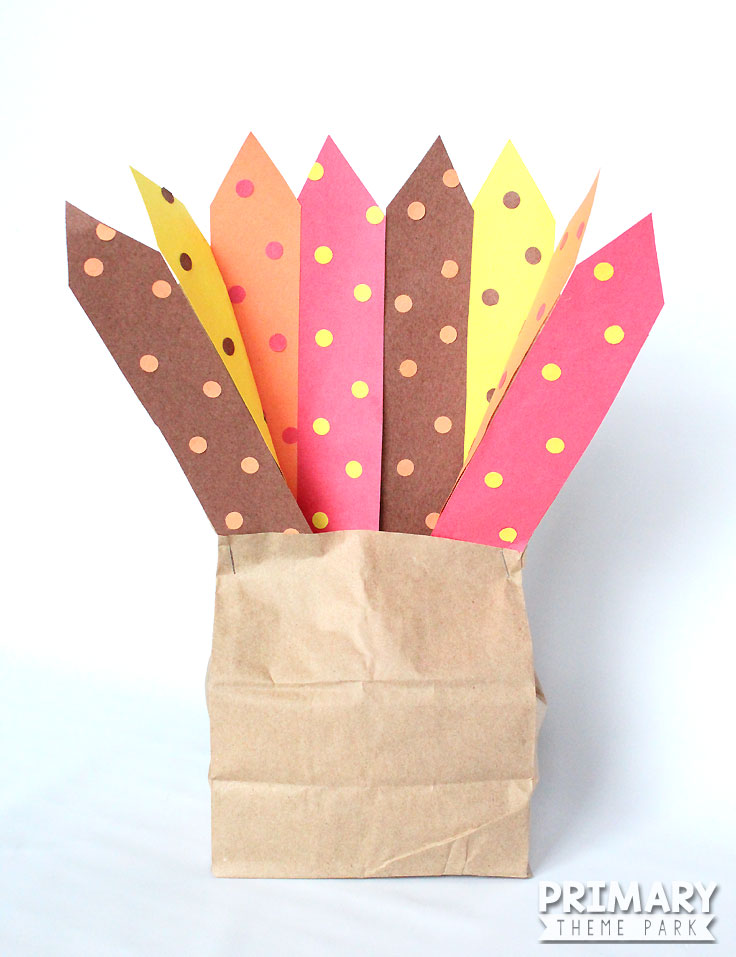
Remember the part of the bag we cut off at the beginning? Now it’s time to trace the turkey head template onto that leftover piece of paper and cut it out. Cut out and glue the eyes, beak, and wattle onto the head. You’re almost done!
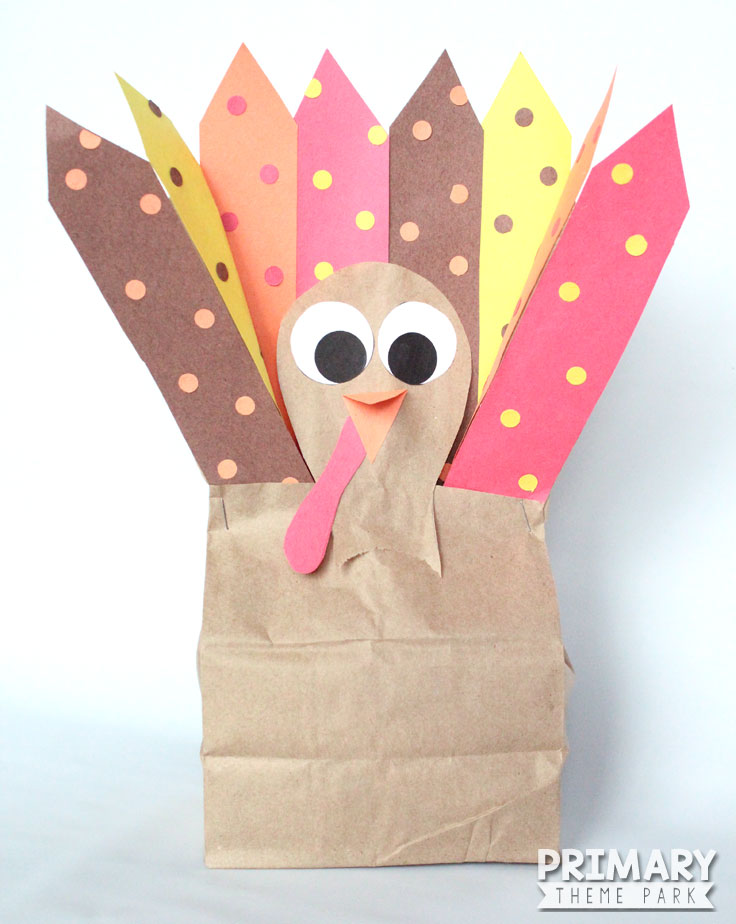
Cut out the feet and leg templates. Accordion fold the legs and glue or tape the feet to the end. Use clear tape to tape the legs onto the bottom of the bag. We tried gluing our legs on and they kept falling off. Taping them on was an easy fix!
Cut out the wing templates and glue them on. The final touch, and my favorite, is to write what you’re thankful for and add it to its belly.
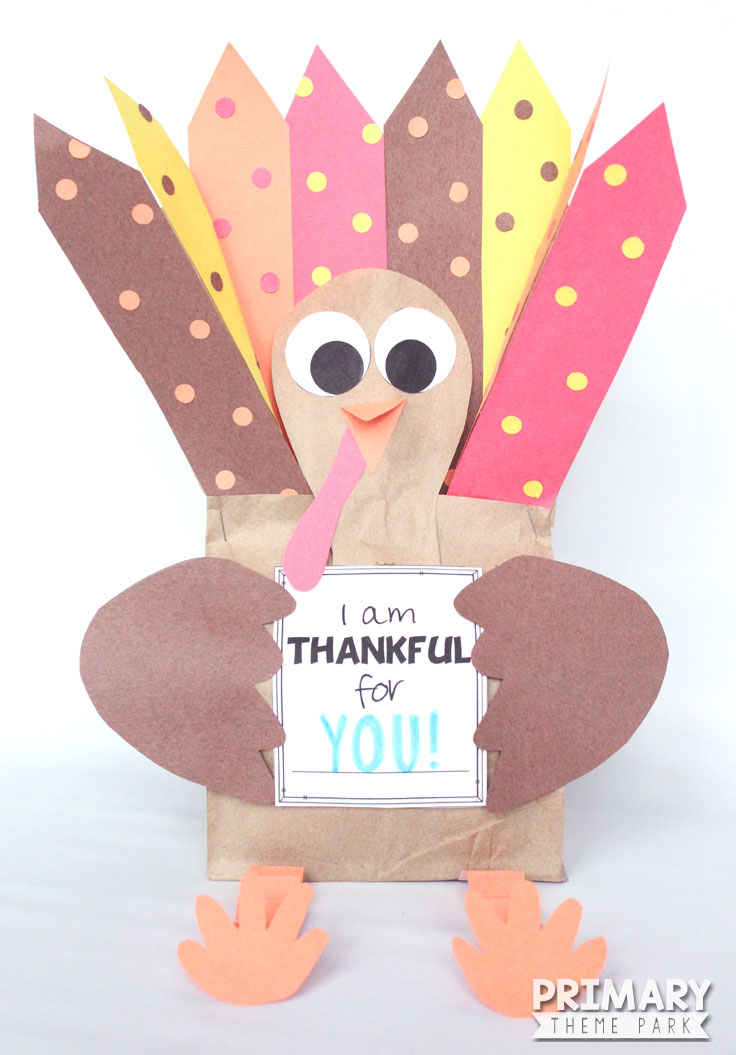
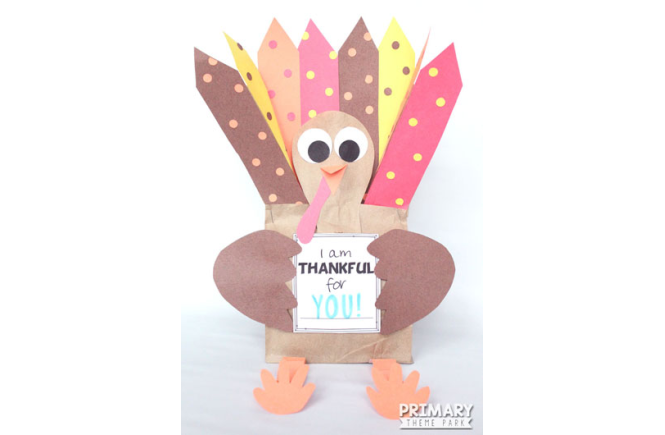
That’s it! My kids loved making this paper bag turkey craft. It was just the right mix of cute and crafting for their age!
Click here to download the turkey templates.

1 Comment
I love this thanks for sharing another teacher told me she did this in her class but seeing it really helps!