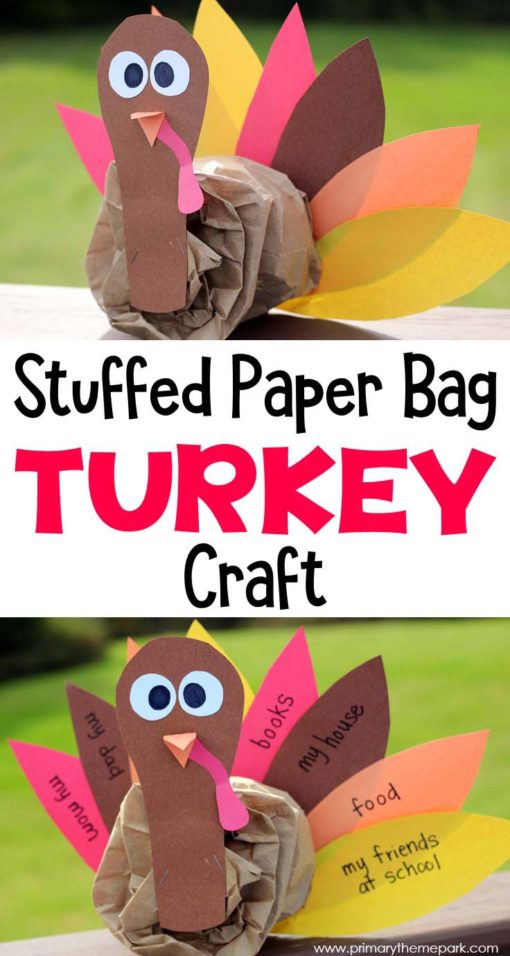

I’m just crazy about these little turkeys! They’re so easy to make and almost mess-free. You probably even already have all of the supplies lying around to make them. These turkeys make an adorable bulletin board or classroom display. They’d even look cute sitting on your table on Thanksgiving!
Materials
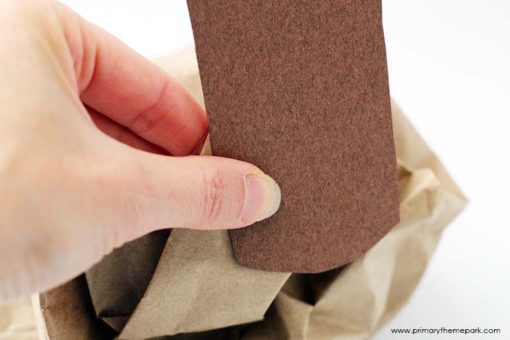
- brown paper lunch sack
- 2-4 plastic grocery bags
- brown, yellow, orange, and red construction paper
- white paper or cardstock
- stapler
- scissors
- stick glue
- black marker
Directions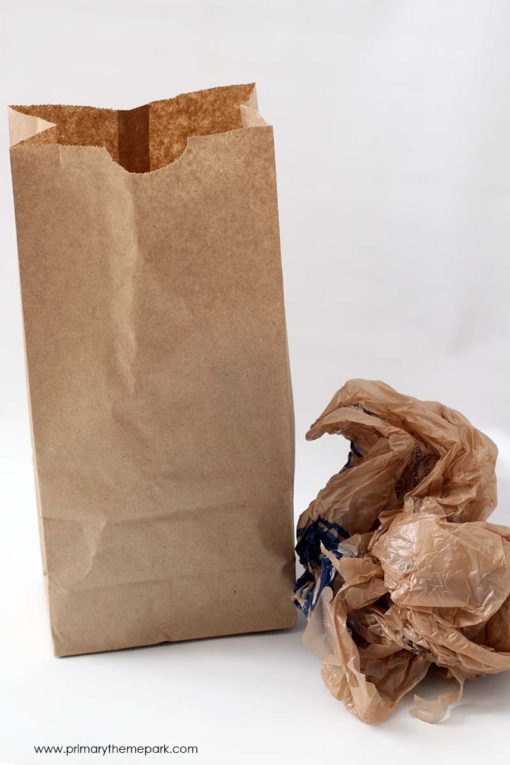
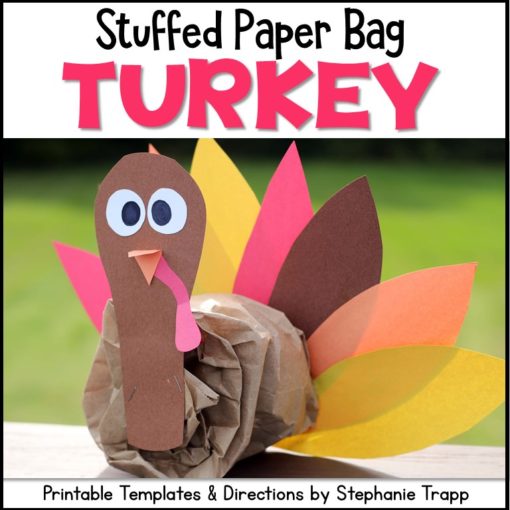
- Open a brown paper lunch sack. Wad up 2-4 plastic grocery bags and place them inside the lunch sack.
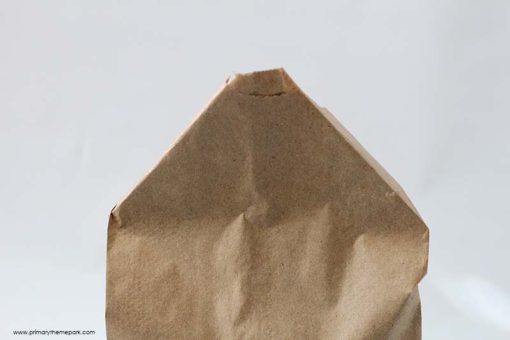
- Fold the edges of the top of the bag in to make a point. Staple both folds down.
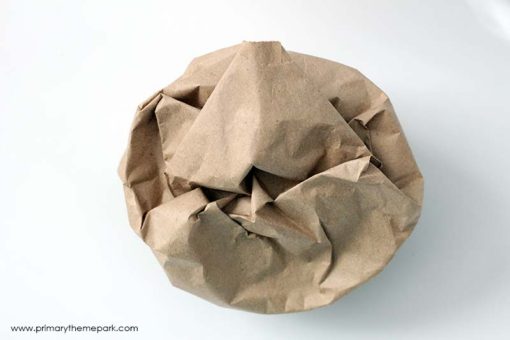
- Push the top of the bag down, scrunching it together.
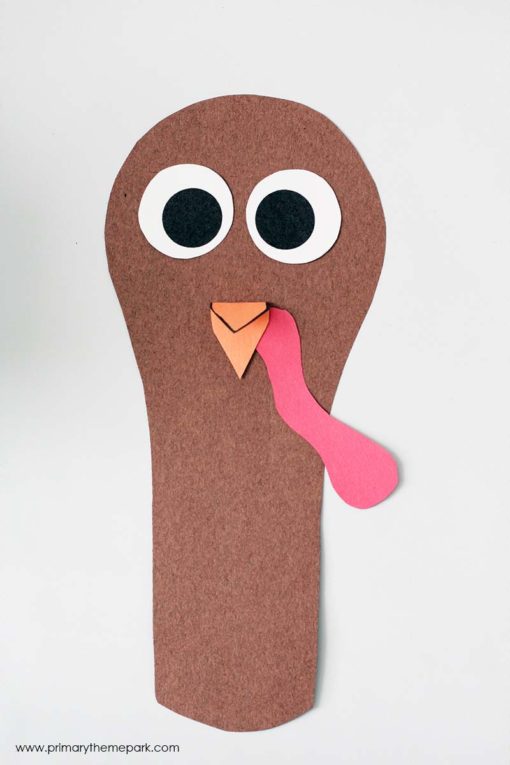
- Cut a turkey head shape out of brown construction paper. Cut a beak from orange construction paper and a wattle from red construction paper. Lastly, cut two eyes out of white paper or cardstock. Glue the beak, wattle, and eyes onto the head.

- Lay the paper bag on its side. Staple the turkey’s head to the folded end flap.
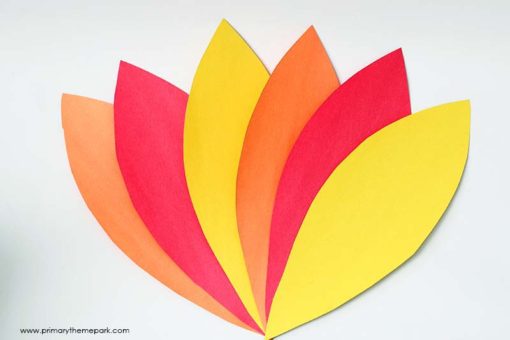
- Cut feathers from red, orange, and yellow construction paper. Fan them out and staple them together at the bottom. You might want to use a bit of stick glue where the feathers overlap. Have students write something they’re thankful for on each feather.
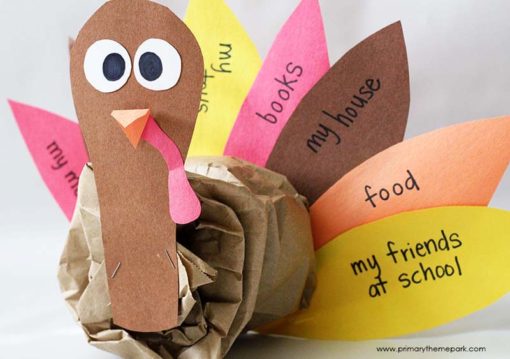
- Place the feathers at the back of the paper bag and staple in place.
Paper Bag Turkey Craft: How-to Video
If you’re interested in the printable templates to make this craft, they’re in my TPT store. Click on the picture below to take a look!
14 Comments
Hi! I make one similarly: I twist a neck on the bag, and put the double-sided head on it with glue, using a clothespin on to set. I put yellow feet on bottom. Same type of feather setup, but I use green too. Gobble gobble! (I also use newspaper, not plastic bags.)