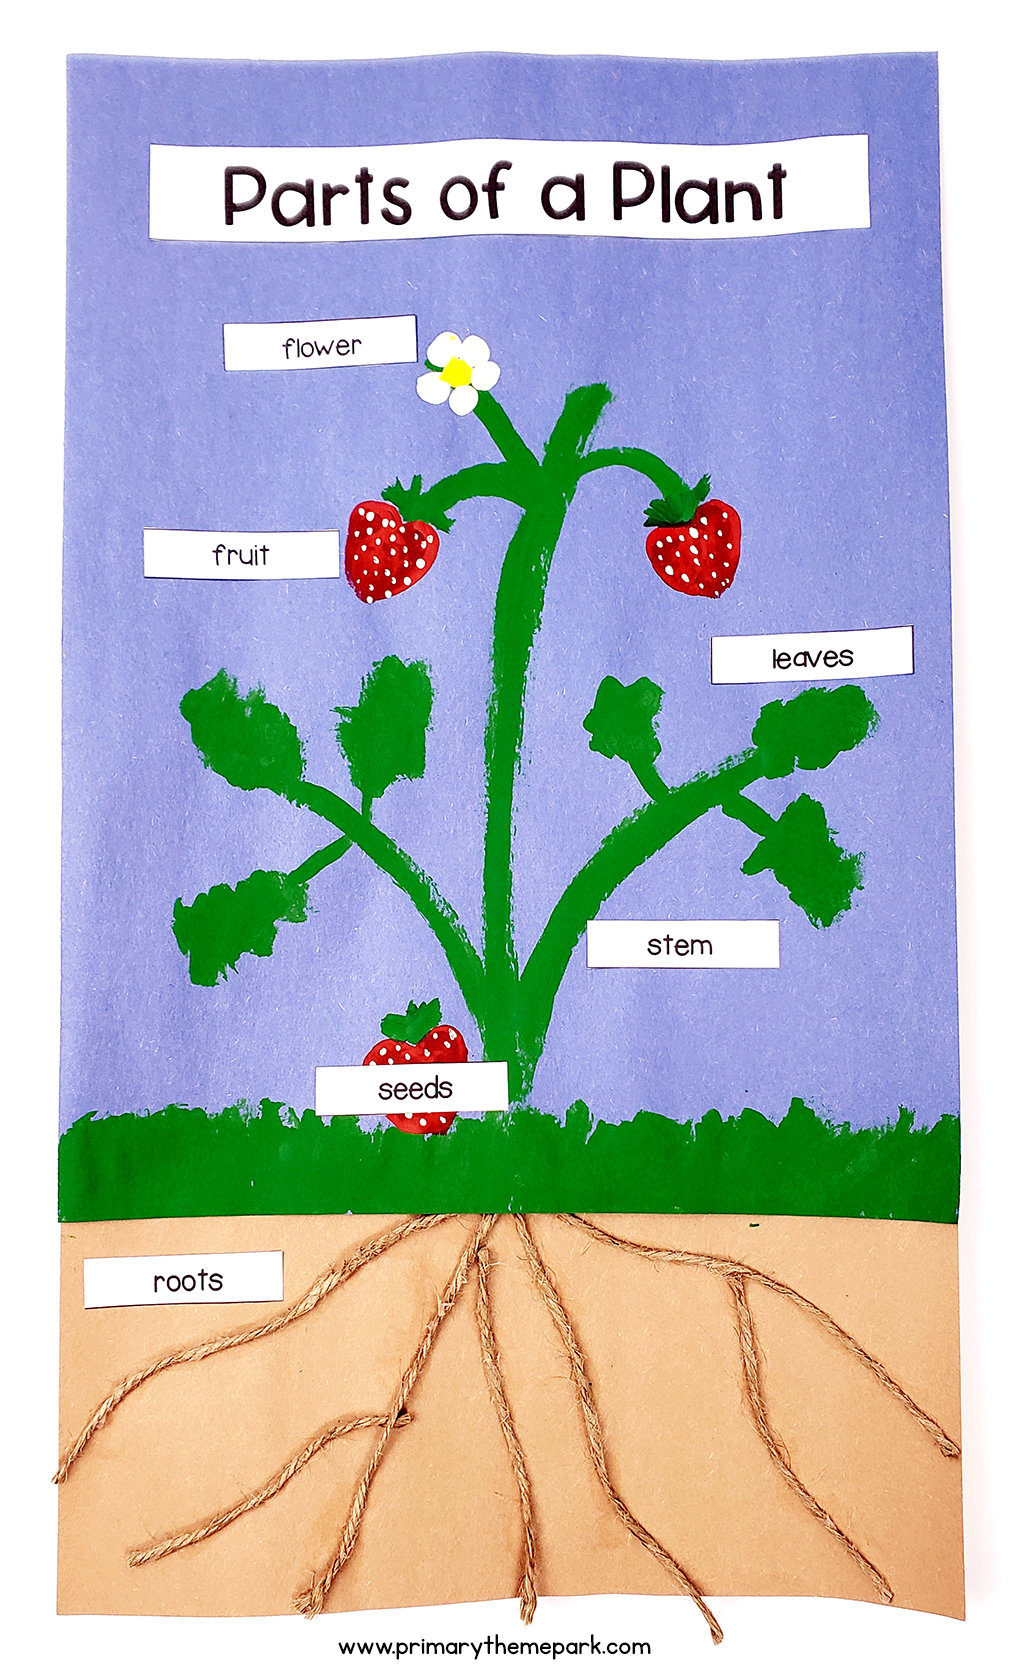

I had the hardest time thinking of a parts of a plant craft or art project that showed all six main parts of a plant. I just couldn’t find a way to incorporate the fruit or seeds into the project. Then, one day out of the blue it dawned on me: make a strawberry plant!
Apart from the roots, it’s easy to see the parts of a plant when looking at a strawberry plant. The leaves and stems are clearly visible. Once the flowers bloom, they turn into a fruit with seeds on the outside. It’s the perfect plant to turn into an educational craft!
Parts of a Plant Craft
Materials
- construction paper: blue & brown
- acrylic paint: green, red, yellow & white
- brown yarn/twine OR brown marker
- cotton swabs
- toothpicks
- paintbrush
- stick glue
- liquid glue (if using yarn/twine)
- parts of a plant labels (optional)
Directions
Roots, Stems and Leaves

Turn a piece of brown construction paper into the portrait position. Cut it into thirds horizontally. Each cut piece will be four inches wide and nine inches long. Glue one of the pieces to the bottom of a piece of blue construction paper.
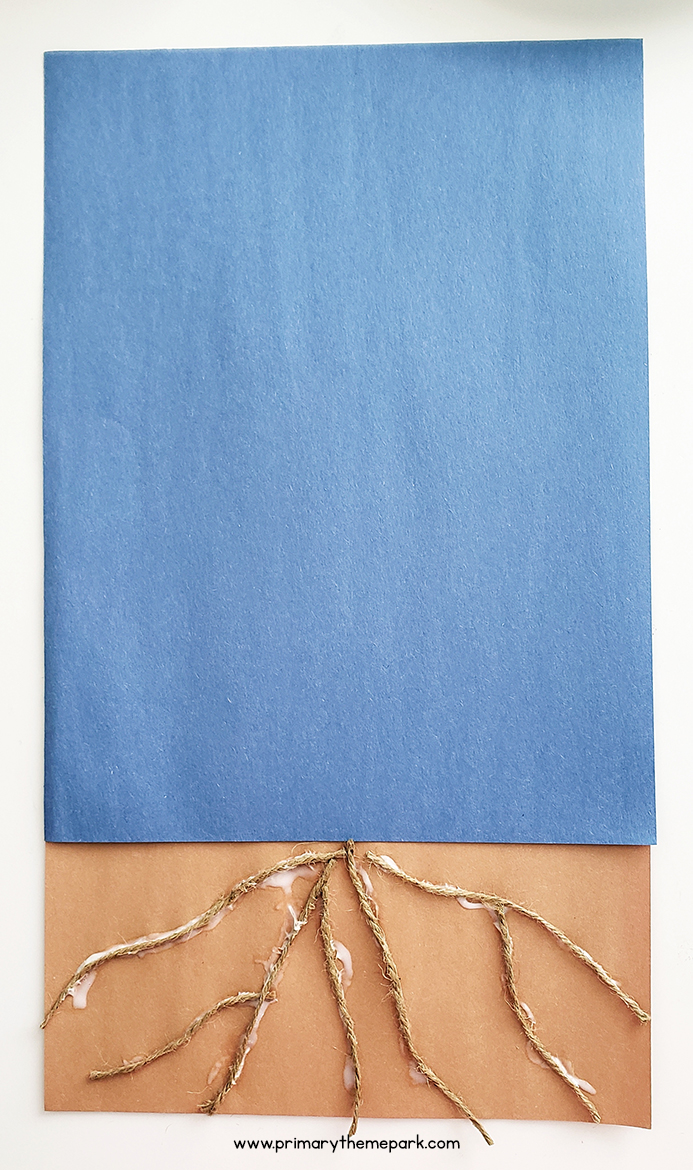
Cut and glue pieces of brown yarn/twine on the brown construction paper to resemble roots. Less Mess Option: just draw the roots with a brown marker.
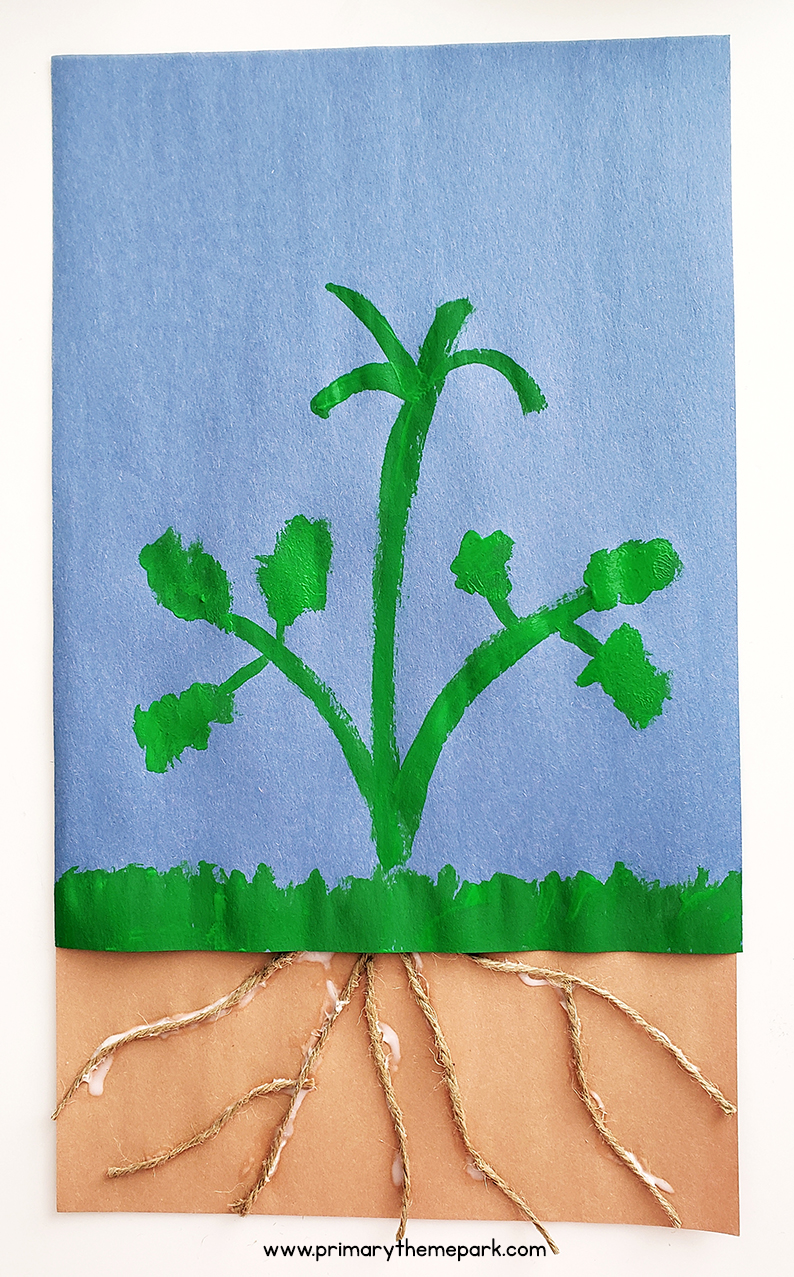
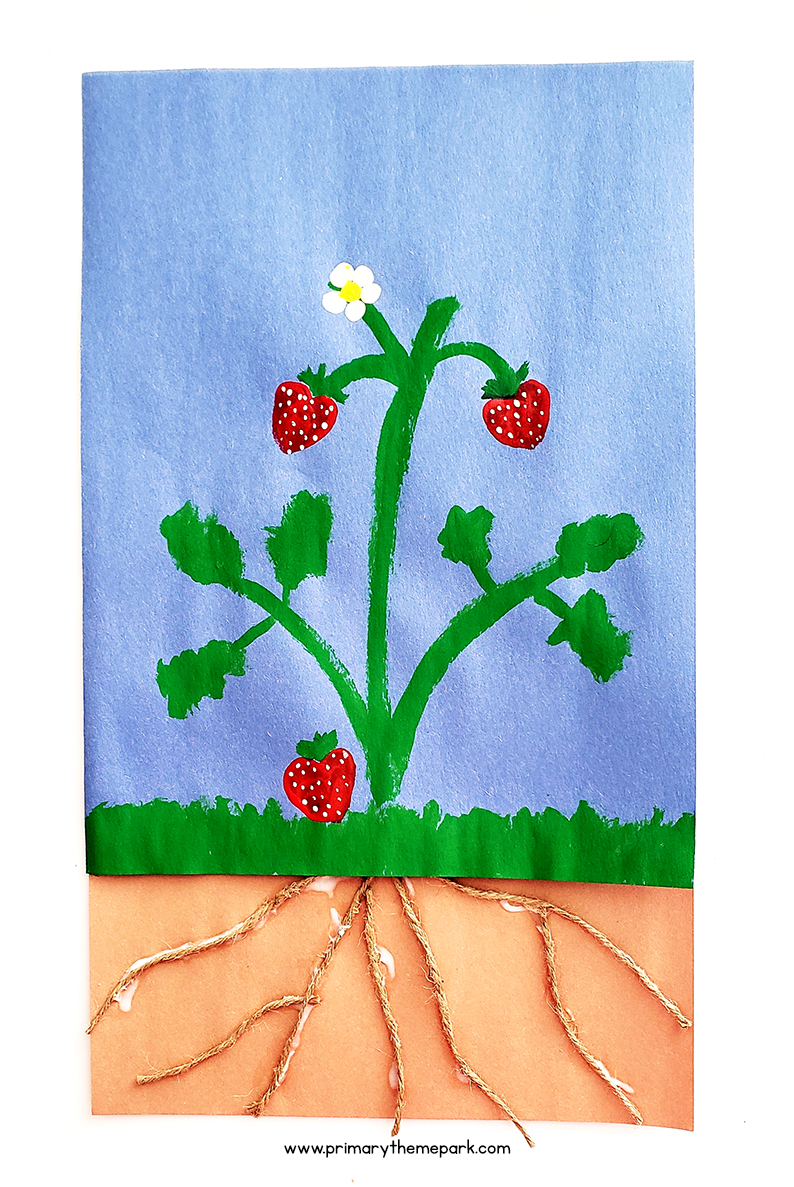
Paint grass along the bottom of the blue construction paper with green paint. Paint a tall stem with three smaller stems coming off near the top. Next, paint two smaller stems coming from the bottom of each side of the main stem. Make a few smaller stems branch off near the end of them. After that, paint leaves on the stems on the left and right hand side. I just wriggled my brush back and forth to create them.
Flowers, Fruit and Seeds
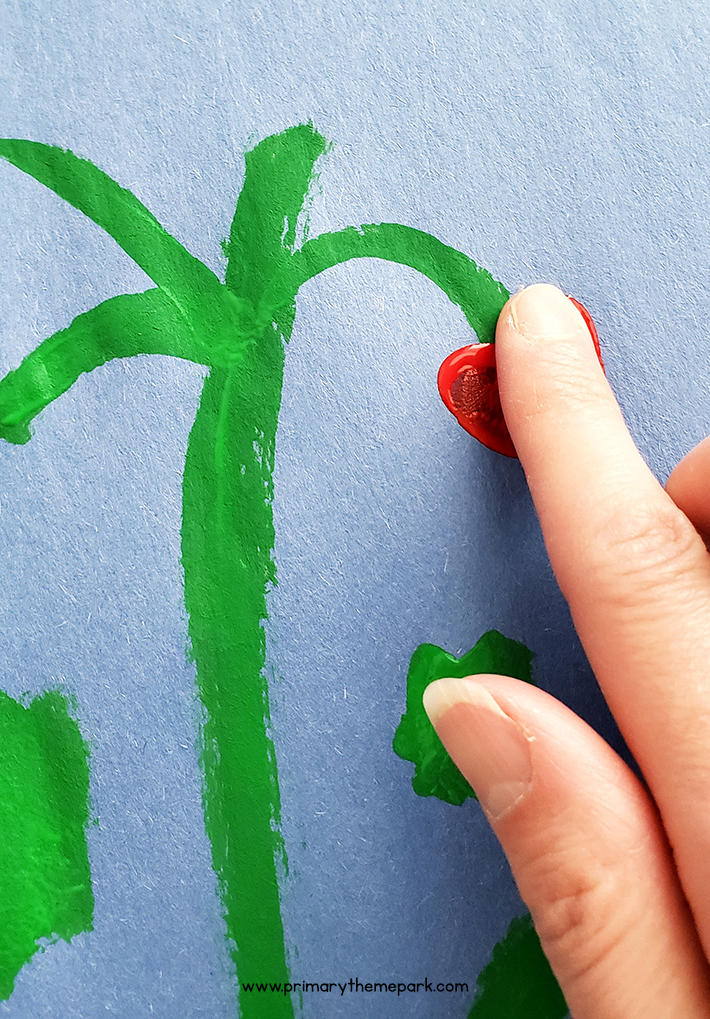
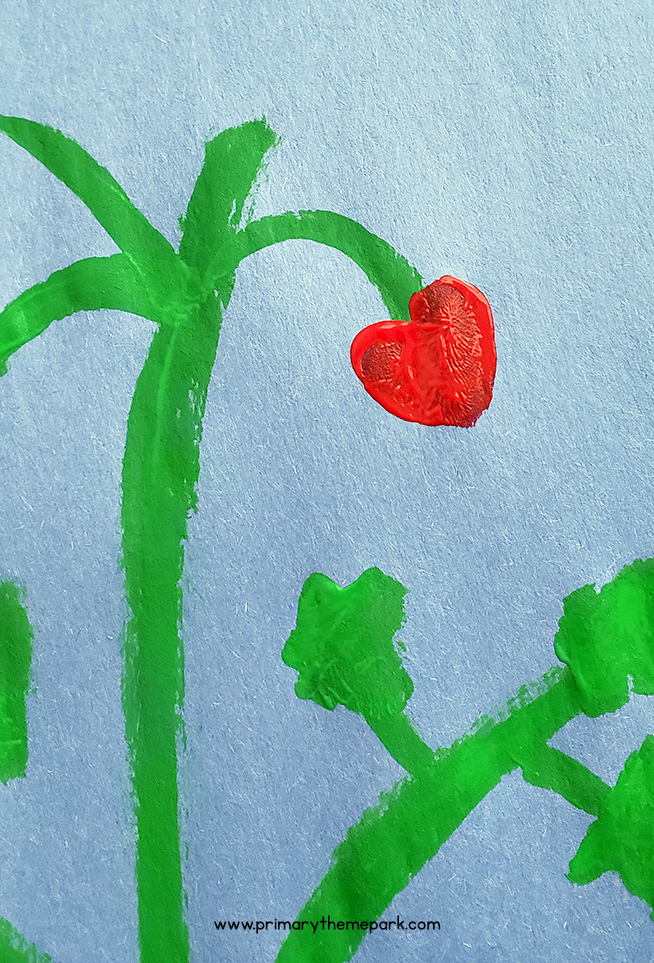
Now it’s time to make the strawberries! Dip your index finger in red paint. Press and make a heart shape at the end of two of the stems at the top to make the strawberries. I also ended up later adding a strawberry in the grass. Students may want to add more stems and strawberries.

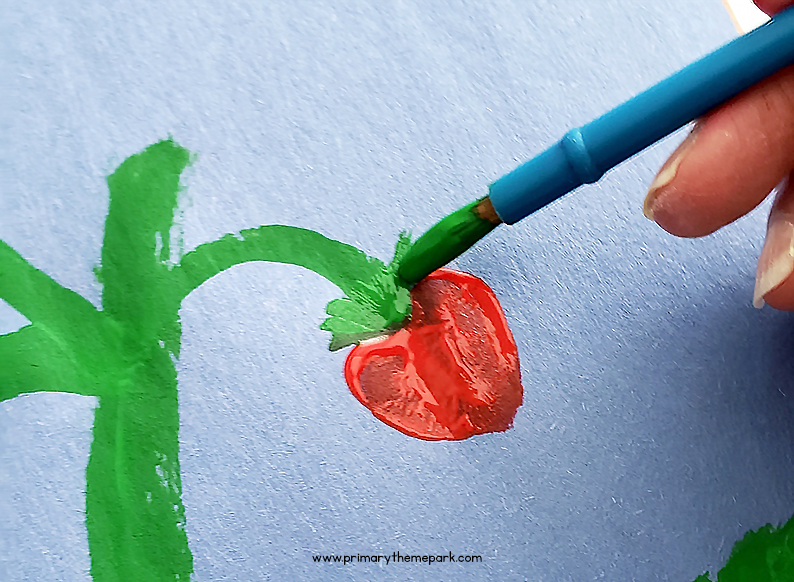
At this point the painting will look similar to the picture above. Add smaller leaves to the tops of the strawberries where they connect to the stem like the picture below.
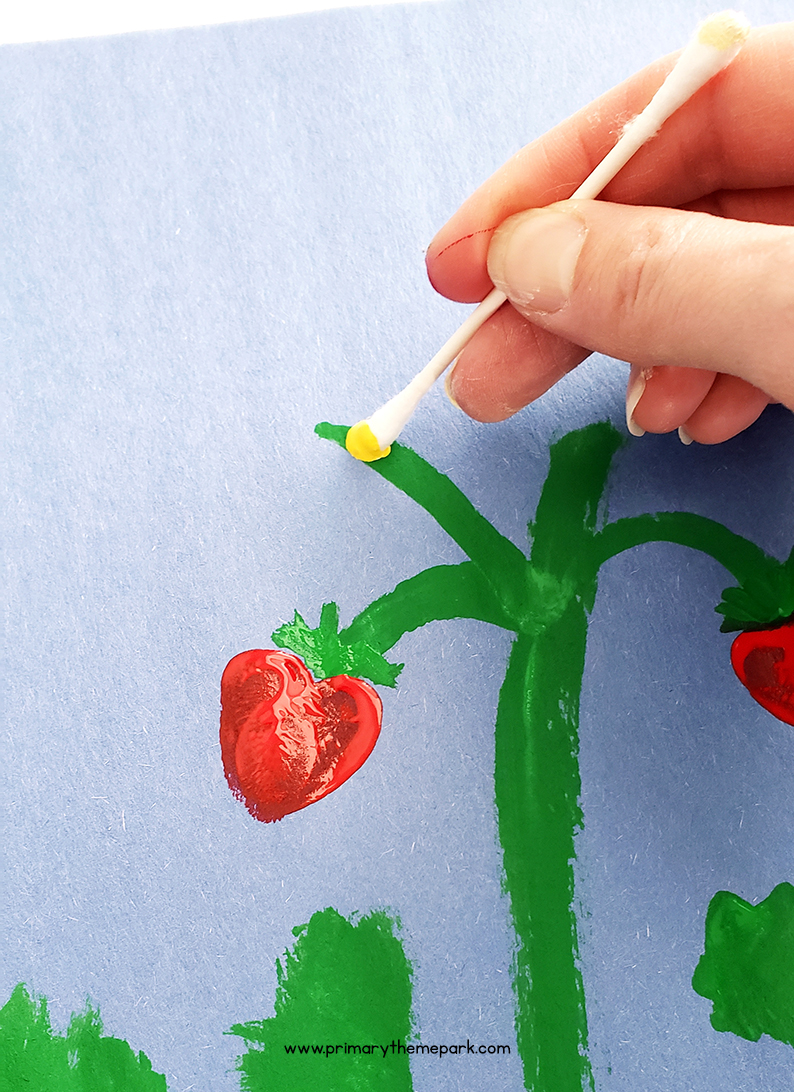
Using the end of a cotton swab, make a small yellow dot towards the end of one of the top stems. Then use the other end of the cotton swab to make several white dots around the yellow dot to create a flower.
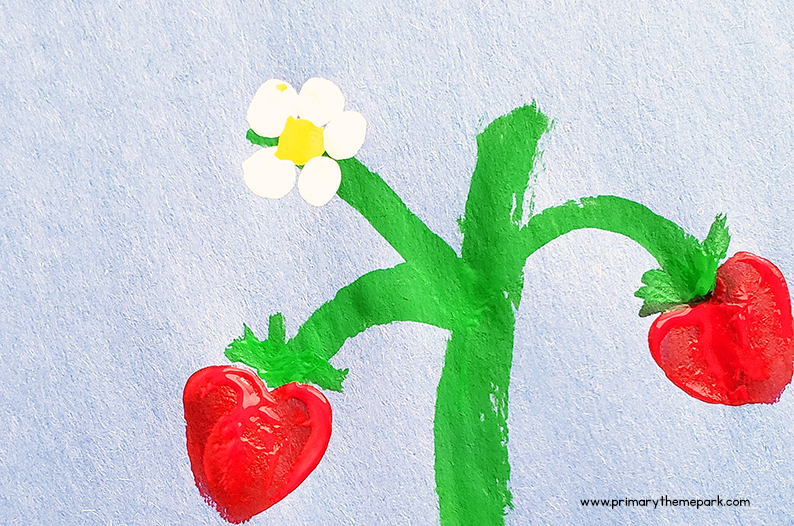
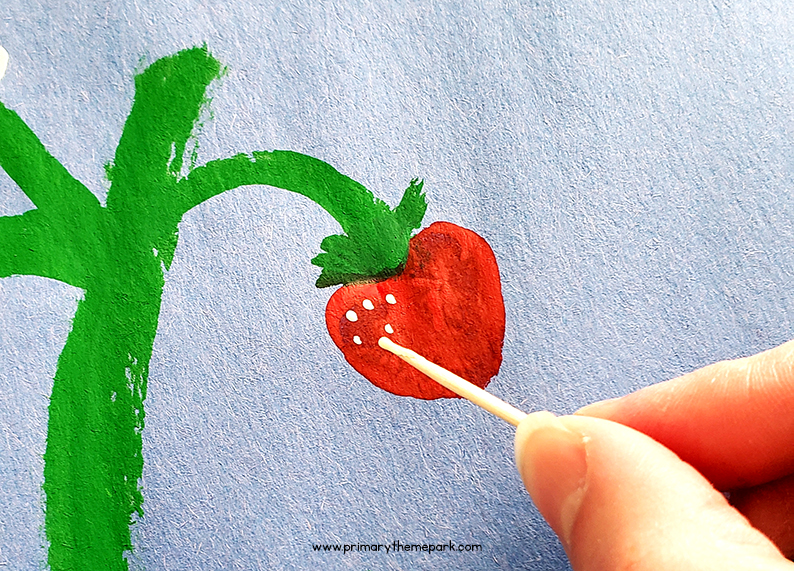
Once the red paint is dry, dip the end of a toothpick into the yellow or white paint. I mixed a little yellow into the white to make a pale yellow color. Press the toothpick all over the strawberries to create the seeds.
Allow the paint to dry. Then use a marker to label the parts of a plant, or make labels and paste them on the picture.
2 Comments