This post contains affiliate links of products I recommend. Read my full disclosure statement.

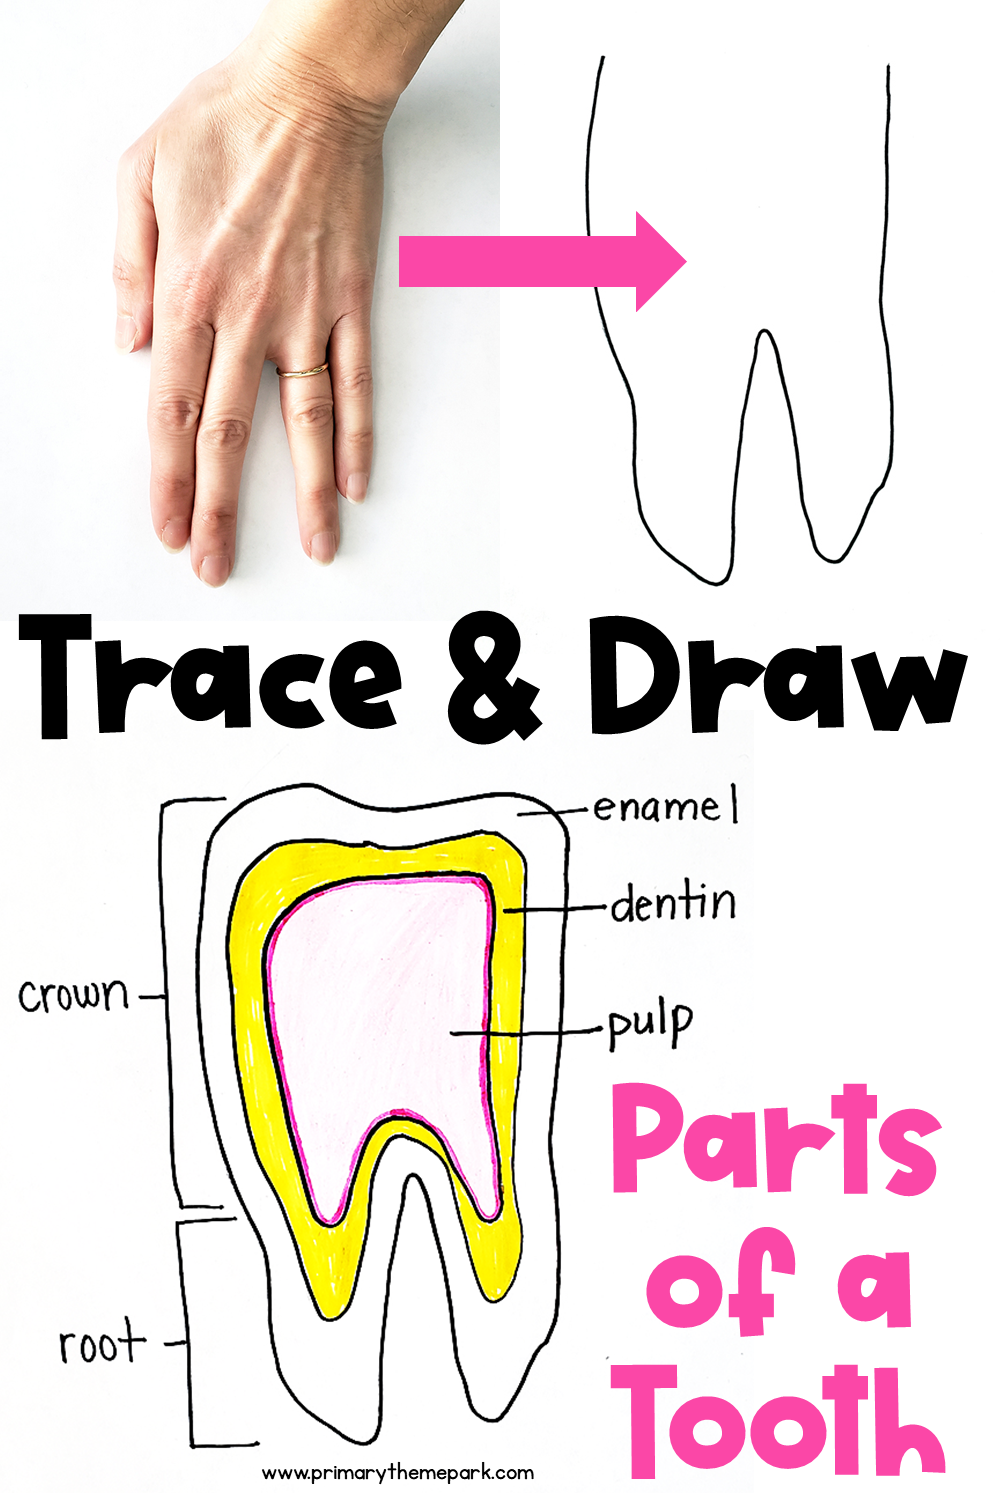
February is National Children’s Dental Health Month. Learning the parts of a tooth is an important part to understanding dental care. While we can’t open up a tooth and look inside, kids can draw a parts of a tooth diagram for a sneak peek!
Parts of a Tooth Diagram for Kids
Materials
- paper
- pencil
- black marker
- crayons or colored pencils
Directions
Have students place their hand on a piece of paper. Separate the fingers between the ring and middle fingers to make a V shape. Make sure the thumb is flush beside the index finger.
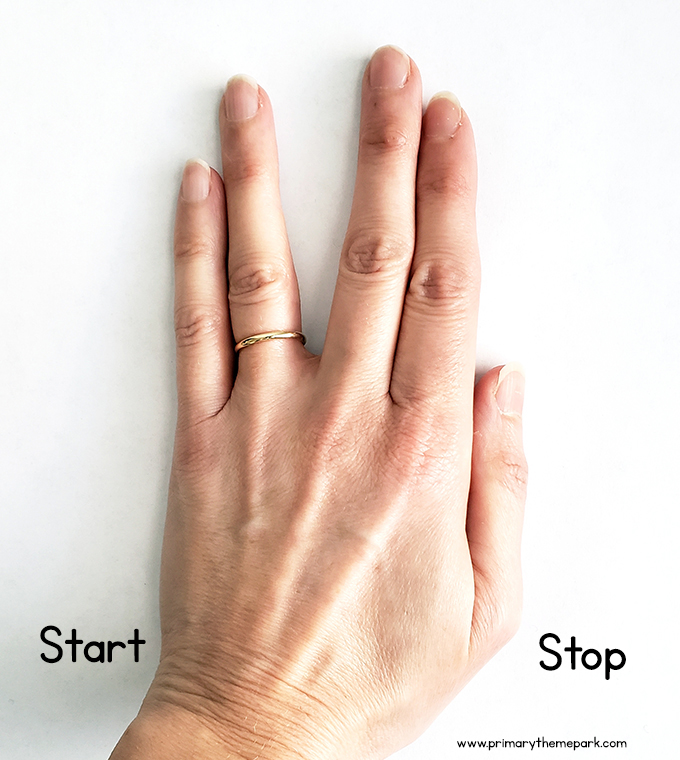
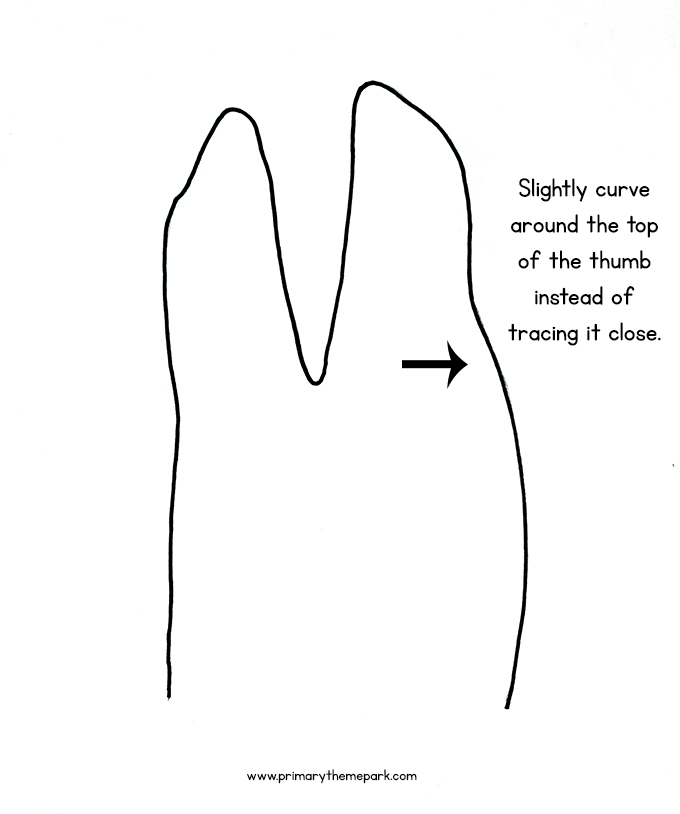
Begin on the left side of the hand at the wrist. Trace around the hand. As you approach the top of the thumb, slightly curve to go around it instead of tracing super close to it. Stop right below the thumb. The result will look like the picture below.
Turn the drawing upside down. Close the opening at the top with a slightly curved line to make the top of the tooth.
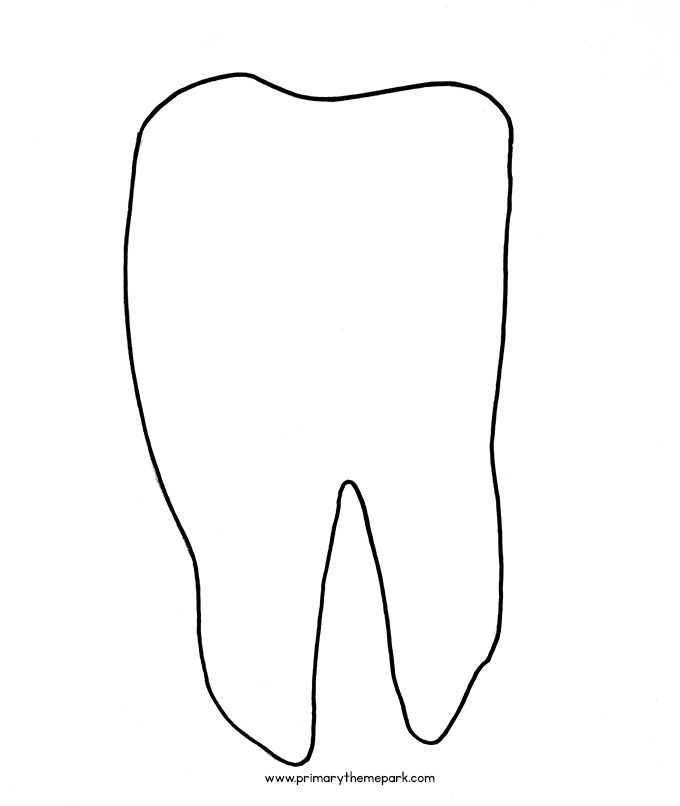
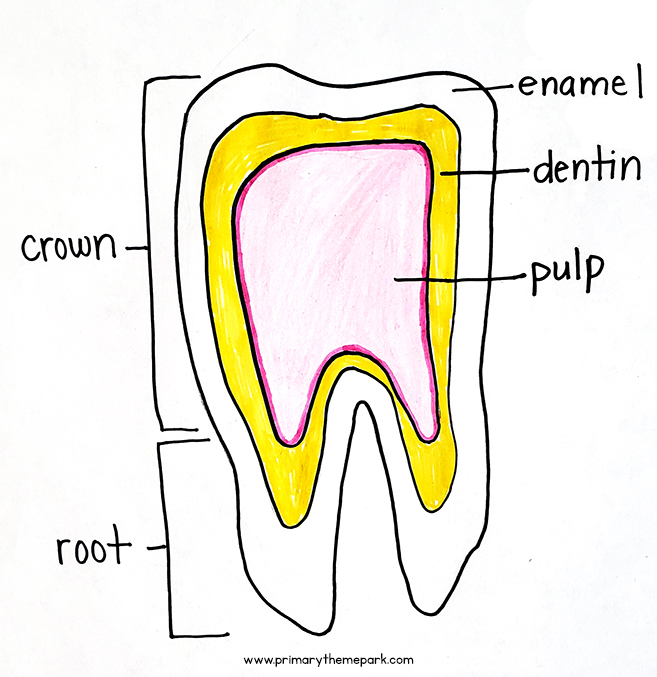
Voila! A super easy drawing of a tooth! For young students, you might just stop there or have them label the outside of the tooth: the crown and roots.
To draw the inside of a tooth, start about a half an inch inside the tooth and draw a line around following the shape of the tooth.
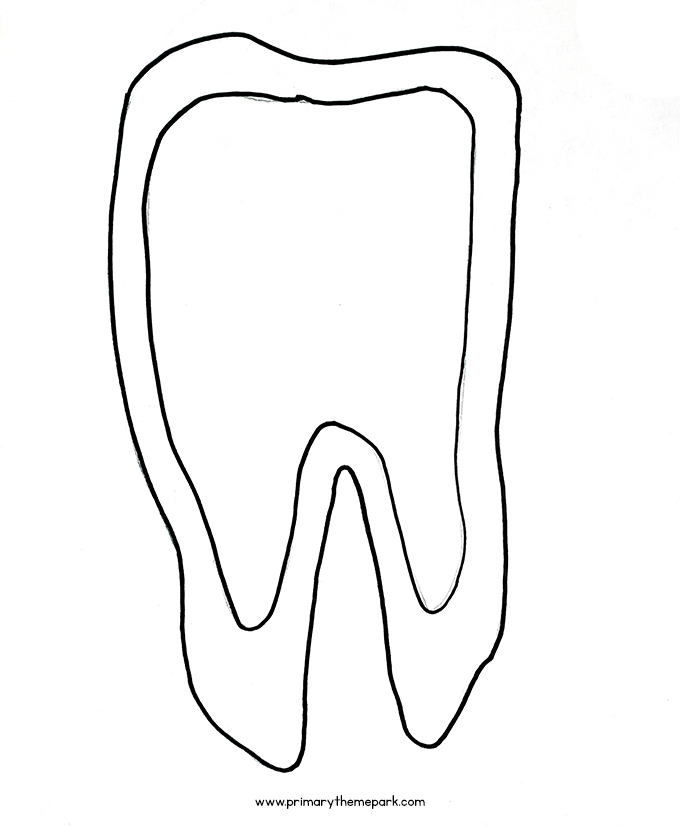
Repeat that step again to add one more part. Now it’s time to color the picture and label the parts of a tooth!
Parts of a Tooth Lesson Idea
Here’s a way to incorporate this parts of a tooth diagram into a dental health lesson for K-2.
- First ask students what they think is inside a tooth. You might record their responses on chart paper or the whiteboard.
- Next, walk them through drawing the parts of the tooth diagram, but don’t color or label it just yet! Tell them to listen in the reading for what the parts of a tooth are and what they do.
- Read The Tooth Book: A Guide to Healthy Teeth and Gums by Edward Miller. It’s a fantastic dental health book for grades K-2. However, it might be too long to read in one sitting. If that’s the case, you may just read from the beginning through the section, “See Inside a Tooth”.

- Discuss the parts of a tooth presented in the book. Go back to their predictions before reading. Were they right about what’s inside a tooth?
- Allow students to use the picture in the book as a guide to color and label their parts of a tooth drawing.
- Another idea is to watch this SciShow Kids video about dental health. It discusses the parts of a tooth and shows a diagram of the inside of a tooth. You might pause the video and allow students to use it to label their own.
More Dental Health Lessons
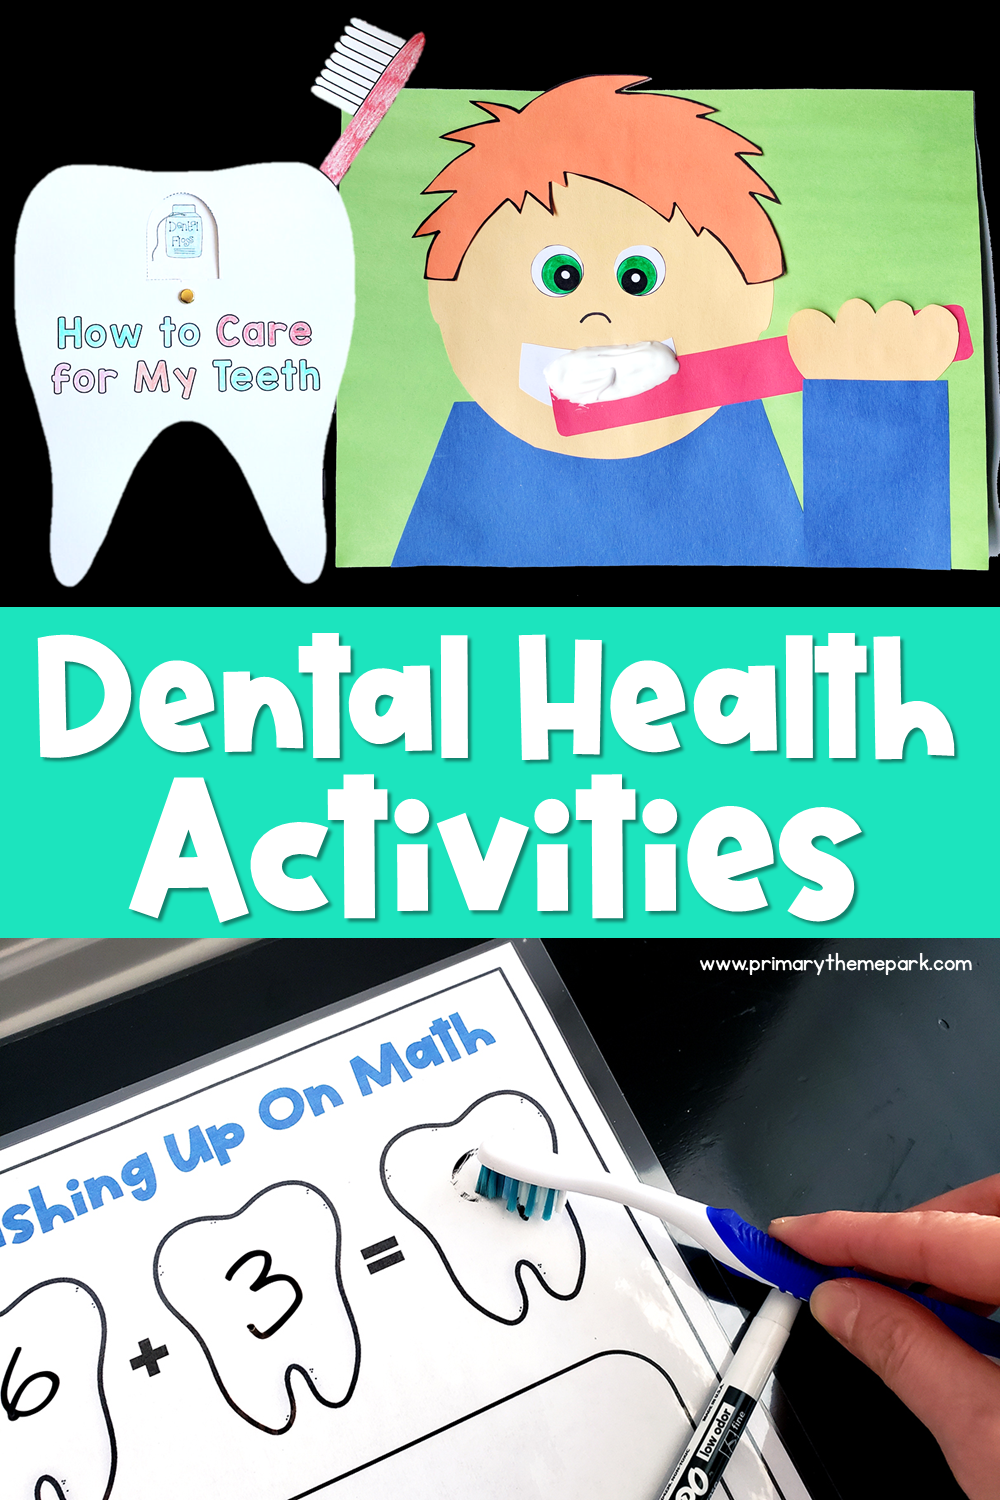
This lesson is part of my dental health unit for kindergarten and first grade. The week-long unit teaches parts of a tooth, tooth care, types of teeth and all about the dentist and tooth fairy. It includes detailed daily lesson plans to make your job easier!
More Dental Health Videos
Be sure to check out my post with more dental health videos for kids. I’ve personally watched and vetted each one. They all are a great complement to any dental health study. Find my entire playlist on YouTube here!
2 Comments
It is very very nice for to teach us how to draw and label a tooth k
Thank you for helping me without struggling ❤ 💓 💛 💕